My family has been making and enjoying milk kefir for about two years now. It was the second homemade fermented food we tried, after yoghurt. I found homemade yoghurt too time consuming and too fussy to prepare for my liking, and although it was fun and rewarding at first, I got tired of the heating, cooling, pouring, mixing, warming – all steps requiring exact precision – process. I was introduced to the idea of milk kefir by the lady at my local organic shop, who suggested it as an easier alternative to yoghurt. My curiosity was piqued, so I bought some grains online and they were couriered to me in a little container of milk. Thus began my relationship with kefir! We don’t buy yoghurt anymore, which means we save on all the plastic or polyethylene-lined cardboard packaging associated with it. It is also much cheaper to buy organic milk for our kefir than to buy organic yoghurt.
My interest in fermented foods came about when Stella was a newborn. While she was overall a very healthy baby, she had some trouble with bottle feeding and I attributed it to (silent?) reflux. In seeking help, I found myself surrounded by parents of little babies in all sorts of distress – colic, reflux, eczema, food intolerances, and so on. When I heard that the addition of pre- and probiotics was found to help some of these babies (if only a little bit), I became interested in the growing trend of supporting and nurturing ‘good’ bacteria in our guts as a way of improving our overall health (both physical and mental). Eating cultured foods is a way of introducing beneficial probiotics and digestive enzymes to your body through food, rather than via supplements. Because commercially prepared foods need to be consistent in flavour and texture, as well as shelf stable, it is difficult to get quality cultured foods from supermarkets or other big food suppliers. When you do, the product will usually be pasteurised, processed, and cultured with a commercial starter. Certainly better than nothing, but not as good as a good homemade version! I feel it is best to just make such food at home if one can – I should add “with care”, as you do need to pay attention to cleanliness when preparing these living foods!
Following on from that little cautionary note, I’ll mention now that I think there is such a thing as too much of a good thing. In hindsight, I think I was initially a little too enthusiastic in my consumption of fermented foods for my body to cope with; as a result I suffered months of itching, sneezing, headaches, nausea, and fatigue, which may have been a result of overdosing on the fermented foods, detoxing, being a new parent, or perhaps just coincidence. My husband and children suffered no such discomfort, so maybe I was just unlucky or unhealthy to begin with; who knows? My humble suggestion, if you’re new to living foods, is to consume small amounts regularly and be aware of your body’s responses. Start slow, and if your body isn’t coping then slow down even more!
Anyway, back to kefir. There are two types: milk kefir and water kefir. They are different and shouldn’t be confused. My milk kefir grains like milk; supposedly they prefer raw milk, but organic, non-homogenised milk seems to suit them just fine. Just like us, they take a little time to adjust to new environments so they definitely prefer it when you stick to a routine. My basic kefir routine is to check it daily in the morning. The usual fermenting time for kefir is around 24 hours; it is ready when it is creamy, thick, and a runny-yoghurty kind of consistency. As with all real food, the consistency of kefir will differ slightly between summer and winter; we need to stir/shake it more regularly in summer, and in winter it’s a bit thicker. You get a feel for it over time.

As you can see, the kefir grains look sort of like rubbery cauliflower florets. They grow bigger when they are happy and can multiply very quickly! The more grains there are, the more milk they need, so we cull them regularly to maintain a constant amount we know we can consume. When your kefir is ready, you need to strain the grains from it. Most people use sieves of some sort, preferably wood or plastic (but you know how I feel about plastic!). I understand that cultured foods don’t like metal, although stainless steel seems to be okay. We’ve used a silicone sieve for a long time, but then one day it occurred to me that kefir life would be so much easier if I just picked out the kefir grains with chopsticks! So I scoop the grains out, giving them a little shake on the way out. Then I transfer them to a fresh (clean!!!) glass jar and add milk. Cold straight from the fridge is fine. The grains just float in the milk and ferment it by digesting the lactose for you. The resulting milk kefir is rich in probiotics, low in lactose, tangy sour, and can be ever so slightly fizzy.
I won’t go into any more details about the basic kefir-making process, like ratios of milk to grains, because Google already has tonnes of information about it for you to read (or you can get in touch and ask me). I will, however, tell you how we eat it. Generally we treat it just like yoghurt. I’ll serve it to the kids for morning or afternoon tea, mixed through stewed fruit. I like to just drink it like a yoghurt drink, and if it’s too sour for my liking that day, I’ll drizzle a bit of pure maple syrup into it and stir it through.
One day, I accidentally discovered I can make a sort of sour cream cheese by removing the grains and then straining the resulting kefir through cheesecloth overnight. It’s the bottom-right jar pictured in the above photo. I use it like cream cheese, by spreading it on toast with a bit of jam. And although I describe it as sour, I think it’s much milder than the runny kefir.
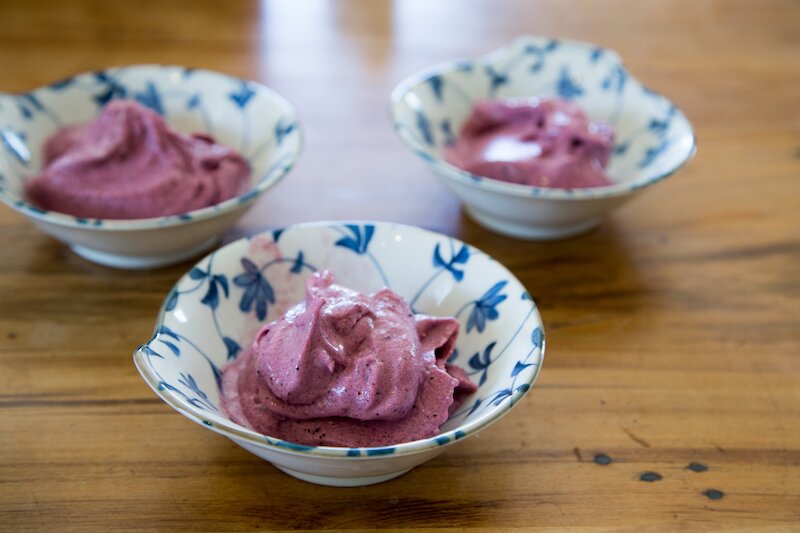
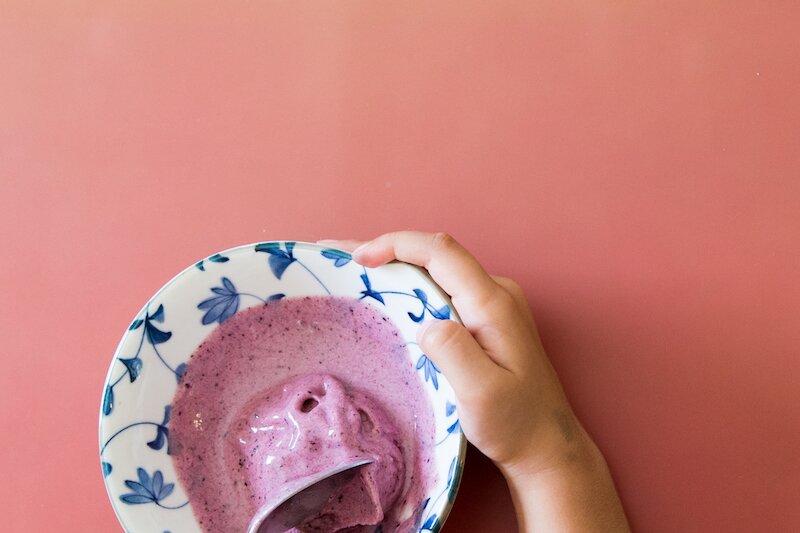
However, in Stella’s opinion, the absolute BEST way to eat milk kefir is by making homemade kefir ice cream. YUM. That is what everyone who tries it says! In summer, we eat our “ice cream” almost daily, and the kids are encouraged to eat lots – how lucky are they?! It is so simple and quick to make; surely it’s impossible to stuff it up. To make it, I chop 1-2 frozen bananas into chunks (I keep a container of frozen peeled bananas in the freezer all through summer). Put these into a blender with a sprinkling of frozen berries and a couple of tablespoons of kefir, and whizz until it’s a smooth frozen yoghurt texture. Serve immediately. It does start to melt pretty quickly on a hot summer’s day, so you can’t take too long in serving it up. And you can’t really save it for later, even in the freezer. So you just have to eat as much as you make! I couldn’t honestly say that Stella or Daniel have a problem with that though. We never have any leftovers!

If you need more information about preparing or maintaining milk kefir, this site seems to be the most comprehensive and it is my personal go-to: Dom’s Kefir-making site.
And, if you are interested in the idea of consuming fermented foods to improve your overall health and well-being, I urge you to listen to this interesting Radio NZ interview with Dr Tim Spector, who talks about our gut microbiome and its significance. It’s fascinating!
Thanks for that! Think I’m going to give it a go 🙂
I can give you some spare grains if you like?