I’m excited to share with you my recipe for easy-peasy homemade sourdough bread this week. Just in case you weren’t waiting for it, this post follows on from my last, Why We Switched To Sourdough.
Because we’d been baking fresh bread in our bread maker for a few years before I decided to try sourdough, I already knew that unless it was going to be super-simple, we wouldn’t be able to keep it up for longer than a few weeks. Trying something new and exciting is fun once or twice, but after that most rituals repeated daily, weekly, and monthly become a chore, like it or not. My family’s need for bread is constant and it will likely increase at an exponential rate with two children destined for great heights (!) so a loaf requiring multiple interventions and resting periods between mixing the dough and baking it just wasn’t going to be practical for us. I couldn’t believe my luck when I hit the jackpot with this recipe; my first attempt at a sourdough loaf! It’s a quick no-knead, ultra-reliable recipe that results in a very tasty, very healthy little loaf which we end up baking about 3 times a week (and I usually bake another one for someone else 😉 ). I like it best toasted with a generous coverage of our coconut/avocado/olive oil spread and any topping, sweet or savoury, tastes good!
Preparing the dough takes me about 10 minutes, and I know the recipe off by heart now, it’s so simple. Before I start mixing ingredients, I prepare my glass loaf dish by greasing it generously with butter. I’ve collected a couple of these from op-shops about town for just a few dollars each, after I tried enamelware and both pans chipped badly within weeks of getting them. As long as I grease the glassware properly, I have no problem with the baked bread getting stuck in the dish.
So now I’m ready to start mixing ingredients. For my own loaves, I use all organic ingredients and filtered tap water. In a large bowl, I add 2 cups of wholemeal spelt flour, 1 cup of white flour, and 1 teaspoon salt.
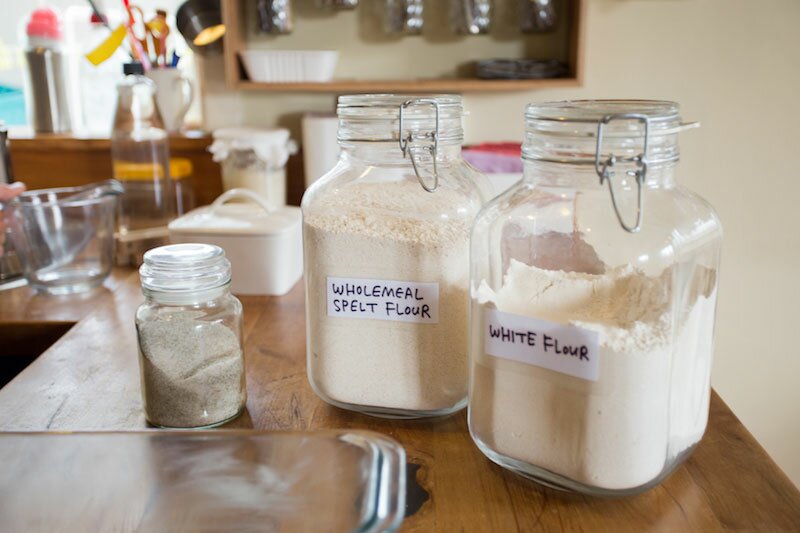
You can see my salt is a greeny grey colour. It’s sea salt which I’ve added a wee bit of sea kelp powder to, for extra iodine and other minerals.
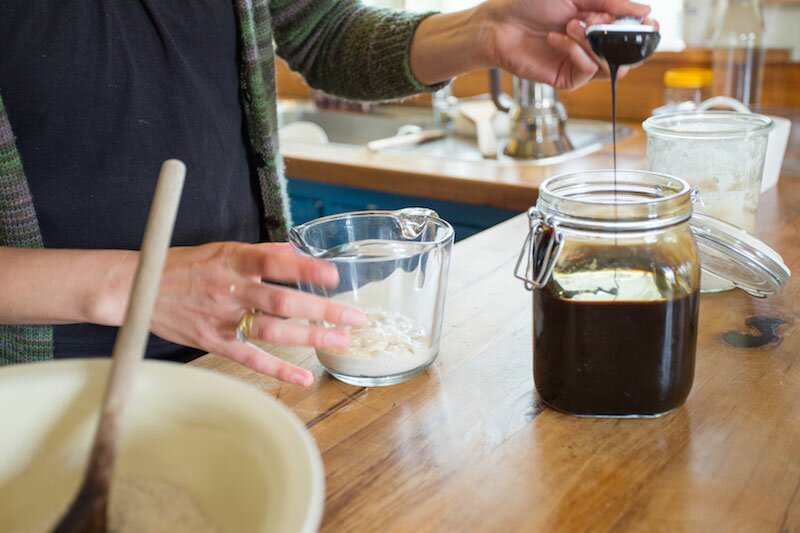
In a small mixing jug, I now add the liquids: 1/2 cup of sourdough starter (unfed), 2 tablespoons molasses, and 1 cup of tepid-warm water. I stir them so they are well mixed and then pour this brown liquid into the flour/salt bowl, slowly stirring it in.
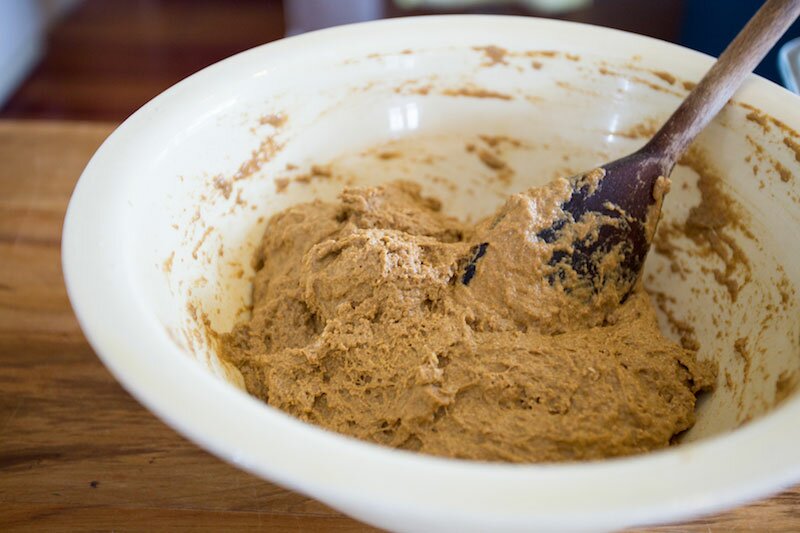
After a bit of mixing, a sticky dough emerges. If it seems quite dry, I add a wee bit more water to get the right consistency. I only mix it till all the ingredients are combined, and then I scoop it all out and plop it into my greased loaf dish. I use damp fingers to level it out and push the dough into the corners.
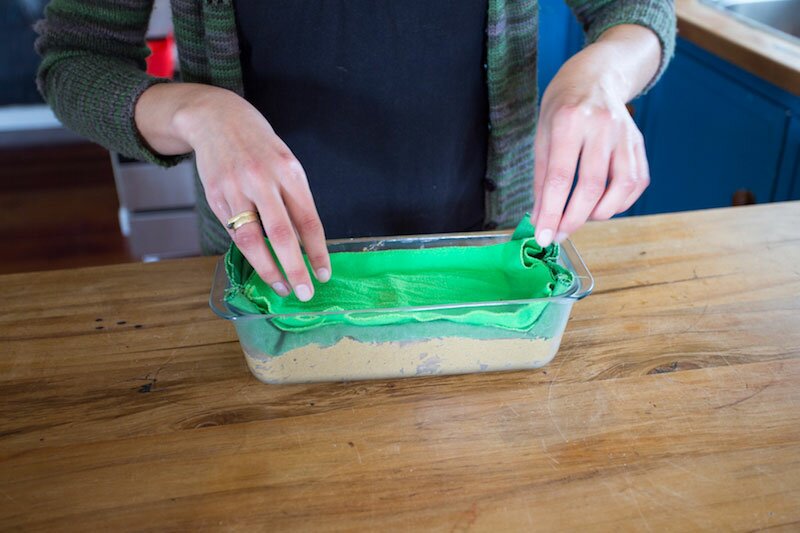
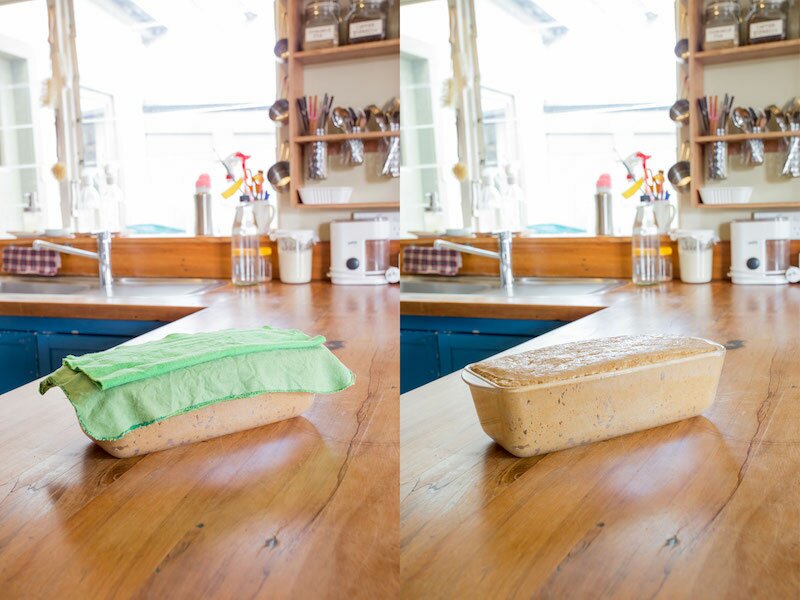
You can see that the dough doesn’t even come halfway up the sides of the dish. I cover it with a damp cloth and then with a dry cloth on top. I have pieces of linen and cotton fabric in my kitchen drawer that I’ve set aside specially for bread-making (bright green so there’s no confusing them for other cloths!).
Now I put this to one side (out of direct sunlight) and leave it for 8+ hours or overnight, and get on with feeding the remaining hungry sourdough starter. I know my bread is ready for baking when it’s risen to the very top of my loaf dish (sometimes it has overflowed – I can’t believe it will more than double in size!). I preheat the oven to 180°C and remove the cloths before putting the bread in the oven to bake.
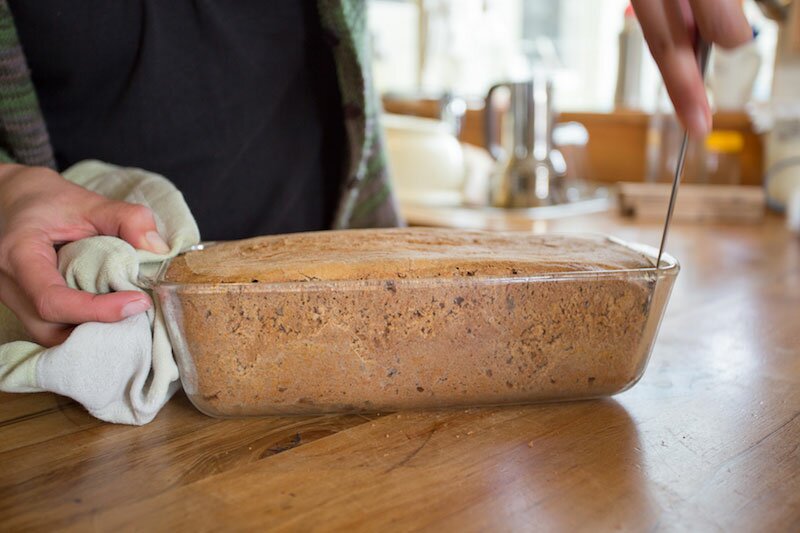
45 minutes later, the timer on my phone goes off and my bread is ready! I take it out of the oven and let it sit for a couple of minutes before using a table knife to gently loosen the sides of the loaf from the dish.
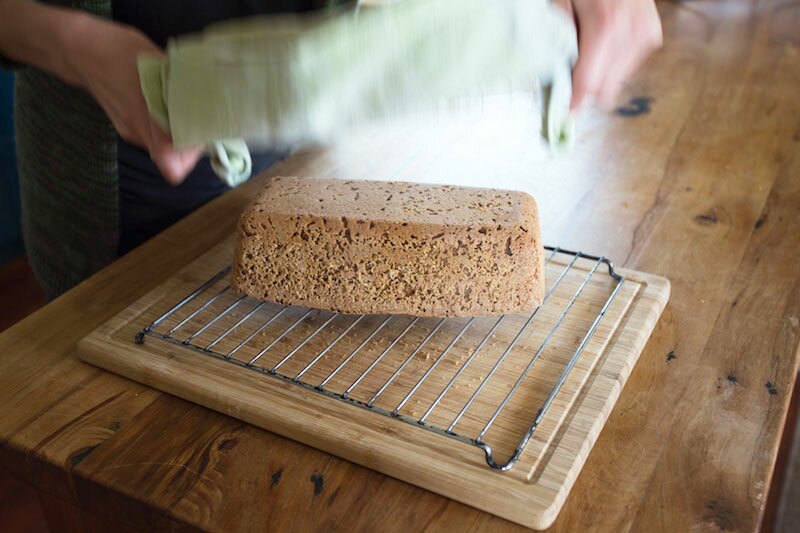
It plops straight out and onto a rack where I leave it to cool before attempting to slice it.
Once cooled, we store our bread in a paper bag, in a bamboo bread bin. It keeps well for a few days in there, but I wouldn’t know how long it stays fresh beyond that because our loaves have never lasted that long! I have heard that real sourdough breads are resistant to mould though. I have sliced and frozen a couple of loaves, but I’ve found that I’m so used to eating fresh bread now that I don’t enjoy toasted frozen bread anymore. I guess that’s the down-side to eating really good food; it becomes hard to enjoy eating crap food. Hmm, but I guess that shouldn’t really be considered a down-side, should it? 😉
Next week I’ll write about my other good reason to grow your own sourdough starter: Sourdough Pancakes!
Oh yes, it’s true: Pancakes are Good For You! Stay tuned.
Mrs Goodness' Easy-Peasy Sourdough Bread
Ingredients
- 2 cups wholemeal spelt flour
- 1 cup white flour
- 1 tsp salt
- ½ cup sourdough starter
- 1 Tbsp molasses
- 1 cup filtered water
Instructions
-
In a large mixing bowl, add flour and salt.
-
In a small bowl/jug add sourdough starter, molasses and warm water. Stir until evenly mixed.
-
Pour sourdough liquid into flour slowly, stirring to combine. It will form a sticky dough. Mix for a minute or two, then transfer to a greased loaf tin/dish.
-
Cover with a damp cloth, and then a dry cloth over top.
-
Leave at room temperature overnight or for 8+ hours until bread has risen fully.
-
Bake in preheated oven at 180°C for 45 - 50 minutes.
-
When bread is ready, leave to cool on a wire rack for 30 minutes before attempting to slice and eat. Enjoy!!!
Recipe Notes
Rising time will vary depending on ambient temperature, meaning in winter your dough will take longer to rise than it will in summer. In winter you should add tepid-warm water to your dough mix, and in summer you can use cold water. For my own loaves, I use organic ingredients and filtered tap water.
Want to have a go at making sourdough bread? Check out the sourdough starter kit I’ve put together for sale in the Mrs Goodness Shop 😉 !
Another recipe to try! I’m not really a cook but your recipes sound so easy and delicious I’m going to have to try a few. I’m loving your blog, I’m working my way through all your entries! It’s hard as a busy Mum of little kids (mine are 8 months and nearly 3) isn’t it – so many great thing to try and only so much time! I look forward to when my girls are older and perhaps they want to help me make things (and their help to actually help :).
I just want to say that I’m so pleased to hear you think my recipes sound easy and delicious! That’s exactly what I was going for 😉 I know that no matter how enthusiastic I am, complicated recipes will always fall by the wayside and I just won’t keep them up, so that’s why I only ever try easy ones – with few ingredients, low failure rate, and affordable 🙂 I can’t wait to share my fermented buckwheat bread recipe on my blog!